Audio Answers:
How Do I Match a Microphone to the Right Preamp?
Question: “I just got a new microphone and I hear a lot about matching it with the right preamp for the best sound. What do I need to know about things like impedance, output type, and gain? How do they all work together to change how my recordings sound?”

Building Your Best Sound: Pairing Microphones and Preamps
When you connect a microphone to a preamp, you’re establishing the crucial starting point for your recorded sound. While it’s easy to get intrigued by buzzwords like “analog warmth” or “vintage tone,” the real magic happens in the interplay of technical details—impedance, output type, and gain. Pay less attention to lofty marketing terms and more to ensuring your equipment works together harmoniously. Otherwise, even the priciest gear can fall short of delivering those sought-after results.
Let’s break down these core concepts so you’ll be equipped to make smart choices for your recordings and get the most from every session.
Understanding the Signal Chain: Microphones and Preamps
Before diving into technical specifications, it’s important to understand what each part of your signal path is actually doing.
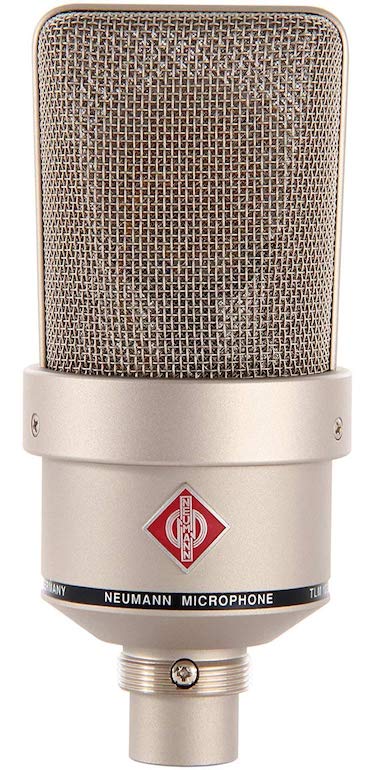
How Microphones Capture Sound
A microphone converts sound waves into an electrical signal—but the way it does this varies by design:
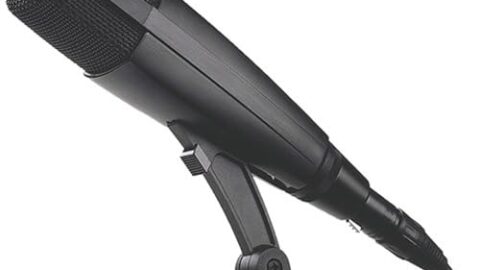
- Dynamic microphones: Rugged and versatile, suitable for loud sound sources like drums or guitar amps. However, their outputs are typically weak and need considerable amplification.
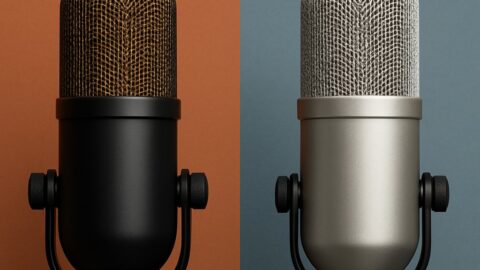
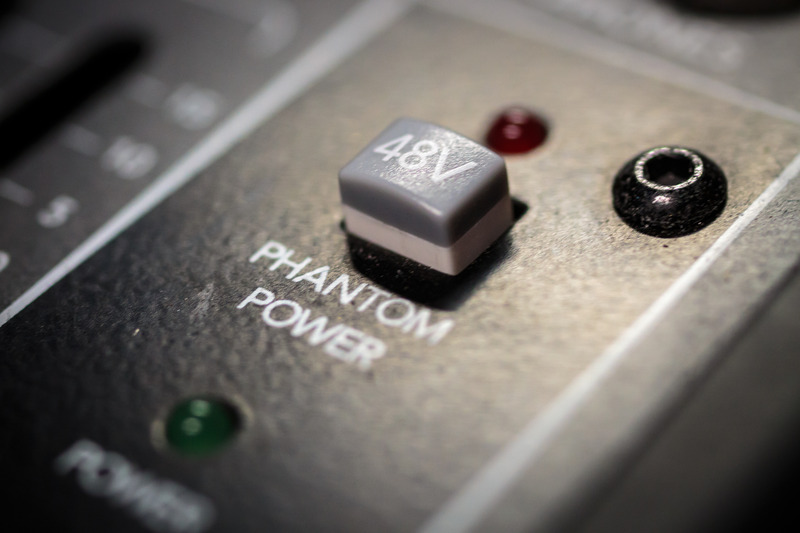
- Condenser microphones: Sensitive and accurate, ideal for vocals and acoustic instruments. They require external power (phantom power) and excel at capturing subtle audio details, for better or worse.
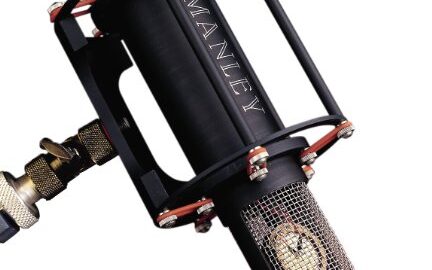
- Ribbon microphones: Renowned for smooth, natural tones, but physically delicate and outputting very low signals—making preamp choice especially critical. For instance, the AEA KU4 showcases the unique sound and careful pairing requirements typical of this mic type.
What all these microphones have in common is that their output level is generally too low to be processed or recorded directly. This is where the preamp enters the chain.
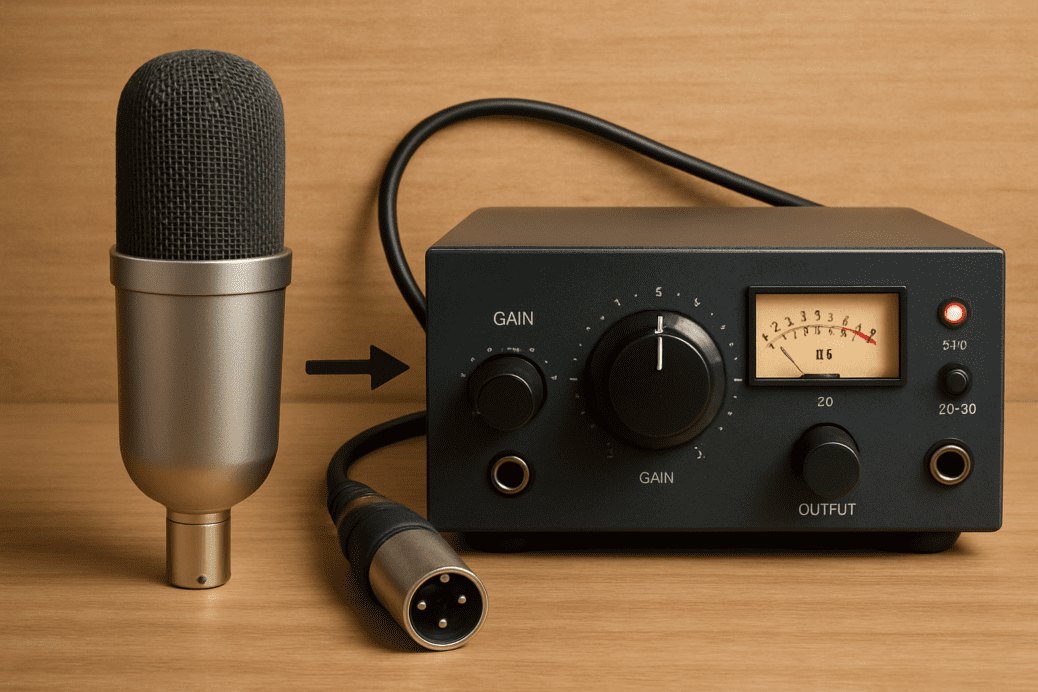
The Role of the Preamp
The preamp’s job is to boost your microphone’s quiet signal to a useable level. But preamps do more than just add volume—they shape the tone and texture of your recording in ways both obvious and subtle. Different designs impart different characters:
- Solid-state preamps: Known for clarity and precision; reliable choices for most applications.
- Tube preamps: Often add pleasing warmth and subtle coloration, suiting vocals and expressive instruments.
- Transformer-coupled preamps vs. transformerless: Transformer-coupled options may thicken your sound and filter some noise, while transformerless designs offer a cleaner, more transparent result.
Recognizing how both microphones and preamps interact—and that each will shape your sound—is the first step in building a signal chain you’ll love.
Making the Connection: Impedance and Output Types
Now that you understand what each component does, let’s explore how to link them for the best performance, starting with one of the most important—and most overlooked—specs: impedance.
What Is Impedance and Why Does It Matter?
Impedance, measured in Ohms (Ω), describes how much a device resists electrical flow. Every microphone has an output impedance; every preamp has an input impedance. Properly matching these is essential for maintaining signal strength and fidelity. For a deeper dive into microphone and preamp impedance matching, including how impedance affects signal quality and tips for optimal matching in the studio, check out this comprehensive technical guide.
As a general rule, aim for a preamp input impedance that’s at least five to ten times higher than your microphone’s output impedance. For example, a 200Ω microphone is happiest with a preamp input impedance of 1,000Ω or more. When you follow this guideline, you help preserve both volume and tonal character.
If impedance isn’t matched well, you risk volume loss, excess noise, or a dull/unnatural tone. Ribbon microphones are especially sensitive—insufficient gain or poor impedance matching can leave them sounding weak or noisy.
Some preamps offer variable input impedance. This feature makes it possible to experiment: boosting impedance may brighten some ribbon or condenser mics, while lowering it can bulk up dynamic mics. Trust your ears (and your meters) as you experiment for the best results.
Connecting Your Gear: Balanced and Unbalanced Outputs
An effective signal chain isn’t just about impedance—it’s also about making reliable connections.
Most studio microphones use balanced XLR outputs, which are designed to carry signals with minimal noise, even through long cables. Professional preamps likewise provide balanced XLR inputs. It’s best to use balanced connections wherever possible, as these help eliminate unwanted hum and interference.
- Balanced-to-balanced: The industry standard for clean, quiet, and reliable connections.
- Unbalanced to balanced: Can work with proper adapters, but is more vulnerable to noise and signal loss.
- Transformer-coupled vs. transformerless designs: Transformers can add vintage color and filtering to your sound, whereas transformerless paths maintain cleaner, more neutral audio. Your choice depends on musical style and preference.
Taking time to use quality cables and observe good grounding practices lays the foundation for a strong, noise-free signal—often more important than splurging on the latest mic.
Dialing It In: Setting Gain for Clear, Strong Recordings
With connections set and impedance matched, the next step is making sure your signal is properly amplified. Get gain wrong, and even the nicest equipment won’t sound its best.
How Much Gain Is Enough?
All microphones produce a relatively low-level signal, but the gain needed varies greatly with microphone type:
- Ribbon and dynamic mics: Typically require more gain—sometimes 60dB or more. Preamps with ample, clean gain are a must, especially for quiet sources.
- Condenser mics: Often more sensitive, so they need less gain—generally between 20–40dB.
Setting gain too low means a quiet recording with too much background hiss. Setting it too high can introduce distortion, which might be either musically pleasing or a problem, depending on your goals. Each mic, preamp, and source is unique—so always adjust gain while observing your level meters, to avoid unwanted clipping.
Pro Tips for Setting Gain
Begin with your preamp gain at its lowest, gradually raising it while you or your performer make sound at typical levels. Watch meters for a solid signal that stays comfortably below the point of distortion. If you’re after a particular character—like the warmth that comes from pushing a tube preamp—explore slightly higher gain, but stay alert to undesirable artifacts.
And always note: Never activate phantom power when using ribbon microphones. Ribbon elements are sensitive and can be permanently damaged.
Putting It Together: Pairing Mic, Preamp, and Settings
Understanding each spec in isolation is helpful, but the real improvement comes from pairing them thoughtfully for your source and musical context. Here’s a quick-reference guide to commonly used combinations:
| Microphone | Preamp Impedance | Output Type | Gain Needed | Tonal Character |
|---|---|---|---|---|
| Dynamic | High (1.5kΩ+) | Balanced | 40–60 dB | Punchy or smooth; transformers add warmth |
| Ribbon | Very high (2kΩ+) | Balanced | 60–70 dB | Smooth, detailed—needs the right preamp |
| Condenser | Medium (1k–2kΩ) | Balanced (often transformerless) | 20–40 dB | Clear and accurate—sensitive to settings |
Let’s see how this comes to life with real-world setups:
- Dynamic Mics + Transformer Preamps: Use a preamp with 1.5kΩ or higher input impedance and 40–60dB of gain. This combo is bold and punchy—perfect for energetic sources like drums or dynamic vocals. For a classic reference, famous preamps like the Neve 1073 are renowned for how they pair with dynamic and ribbon microphones alike, thanks to their distinctive transformer-coupled design.
- Ribbon Mics + High-Gain, High-Impedance Preamps: Aim for 2kΩ or higher input impedance, and 60–70dB gain. Avoid phantom power! When matched well, ribbon mics provide rich, lifelike sound.
- Condensers + Clean Preamps: Pair with 1k–2kΩ impedance and 20–40dB gain for clear, nuanced recordings that faithfully capture subtlety.
If your results sound off, troubleshoot step by step:
- Weak signal? Check your gain settings first. If still lacking, try a higher-impedance preamp.
- Hiss or noise? Inspect cables, grounding, and impedance balancing.
- Tonal problems? Likely from mismatched impedance, transformer coloration, or incompatible gear combinations.
You can also experiment with pads, DI boxes, or variable impedance features to fine-tune results along the way.
Choosing and Pairing Your Gear: Practical Tips
Armed with technical know-how, it’s easier to make confident gear decisions that suit your space, sources, and musical vision.
- Study spec sheets for both microphones and preamps, focusing on impedance and gain range. This helps avoid mismatches.
- Whenever possible, test mic and preamp combinations with your own instruments or voice to hear how they work together in context.
- Don’t judge gear solely by reputation—choose what fits your workflow, source, and desired sound.
For specific tasks:
- Vocals: Condensers and neutral preamps offer clarity, but if it sounds harsh, a transformer or tube preamp can soften edges.
- Acoustic instruments: Ribbons or condensers paired with clean, transparent preamps highlight detail and subtlety.
- Drums: Dynamics or condensers, combined with preamps emphasizing punch and clarity, capture energy and precision.
- Guitar/bass amps: Try dynamic or ribbon mics, and don’t be afraid of a preamp with a little “character.”
When planning your setup, consider preamps with plenty of gain, variable impedance, and balanced design for the most flexibility. Modular or rack-mount solutions can also simplify upgrading as your needs evolve.
Conclusion: Getting Great Sound Starts with Details
You don’t need a fortune in gear to make great music. Instead, focus on understanding how impedance, gain, and output types work together to form the backbone of your recording chain. When something doesn’t sound right, chances are the issue lies in how your gear is paired, not in the gear itself. By learning each component’s strengths and taking time to get the technical basics right, you’ll move closer to consistently capturing sound that’s rich, clean, and true to your vision—whatever your budget may be.


