Audio Answers:
How Do I Record Clean Audio in a Noisy Room?
Question: “My house is kind of noisy and I keep picking up background sounds whenever I try recording music or podcasts. How can I get clean recordings if my room isn’t quiet?”
Identifying and Understanding Noise Sources
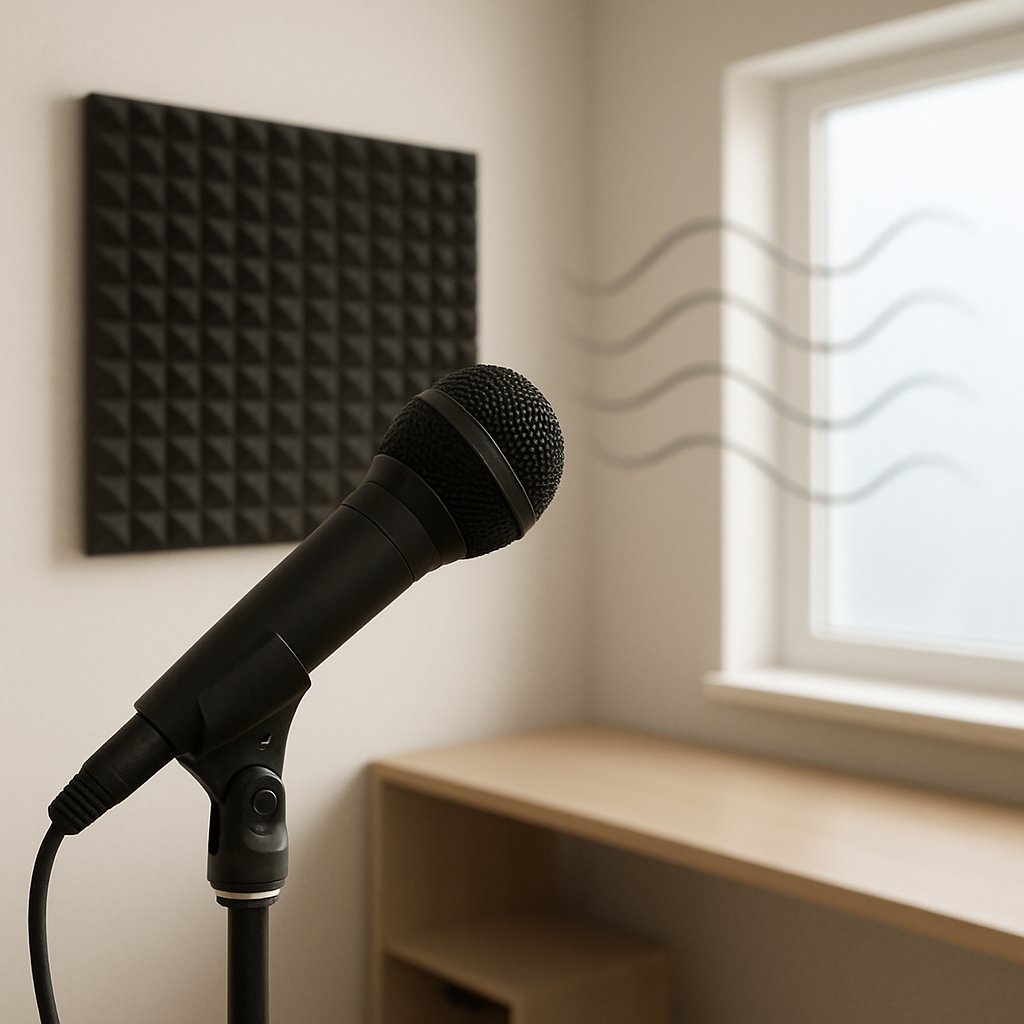
- External Noise: Traffic, sirens, construction, and barking dogs often seep through windows and walls, no matter how solid they look.
- Internal Noise: Appliances like fridges, HVAC systems, computers, or even subtle electronics produce steady hums and rumbles—easy for our ears to ignore, but microphones capture everything.
- Human and Animal Activity: Footsteps, voices from nearby rooms, chair scrapes, and pets all contribute subtle (and sometimes not-so-subtle) background sounds.
Often, these noises blend into the background of daily life and escape notice. Try using a free sound level meter app, or simply record in “silence” and watch the waveform in your DAW to expose what your microphone actually hears. For those wanting a reliable tool, the NIOSH Sound Level Meter App provides detailed and authoritative features for measuring ambient noise, helping you identify exactly what you’re working with. Pay attention to whether the noise is a low rumble (likely electronics) or a higher-pitched hiss—this will help you target and address the real problem. When trying to pinpoint subtle details in your recordings, referencing accurate gear like Neumann KH 80 can give you a clearer understanding of what’s really in your audio environment.
Setting Up for Success: Room Selection and Preparation
Once you know what you’re up against, the first real improvements come from your environment—not your gear. Choosing and preparing your room lays the foundation for every step that follows.
Smaller, Softer Spaces Win: Select the quietest room available, ideally away from traffic and household activity. Rooms with soft furnishings—couches, curtains, carpets, and especially closets full of clothes—absorb sound and tame echoes far better than empty, hard-walled spaces.
Pay Attention to Timing: Sometimes, simply recording at the right time can make all the difference. Early mornings or late nights, when your surroundings and neighbors are quieter, help minimize intrusive sounds. Being strategic about when you record is often as impactful as where you record.
What matters most is recognizing your constraints and making strategic choices. Many classic home studios started in spare bedrooms, closets, or basements—it’s all about how you set up and adapt.
Acoustic Treatment: Affordable Ways to Control Reflections and Noise
- Use Absorptive Materials: Heavy blankets, thick curtains, and area rugs reduce echo and reverb, giving your voice more clarity.
- Leverage What You Own: A bookcase packed with books, a well-placed sofa, or even houseplants can scatter and absorb sound reflections—each small improvement helps.
- DIY Vocal Booths: Recording in a closet surrounded by hanging clothes is a proven trick. For more flexibility, consider building a simple frame from PVC and draping blankets or moving blankets around your recording spot.
- Consider Professional Panels: When budget allows, add high-density foam or fiberglass acoustic panels. Focus on covering first reflection points—behind and beside your mic, as well as above. You don’t need to cover every wall; targeted treatment gets you most of the way there.
Aim to avoid cheap, thin foam products, which may look the part but don’t absorb sound effectively. Even a few thoughtfully placed panels or blankets can vastly improve your recordings.
Microphone Selection and Placement: Capturing Clear Audio at the Source
Now that your room is under control, your microphone choices and placement will determine how much unwanted noise makes it onto your recordings. For those especially concerned with reducing noise pick-up from the environment, reviewing unidirectional options such as the AEA KU4 can help you make informed choices.
Choosing the Right Microphone
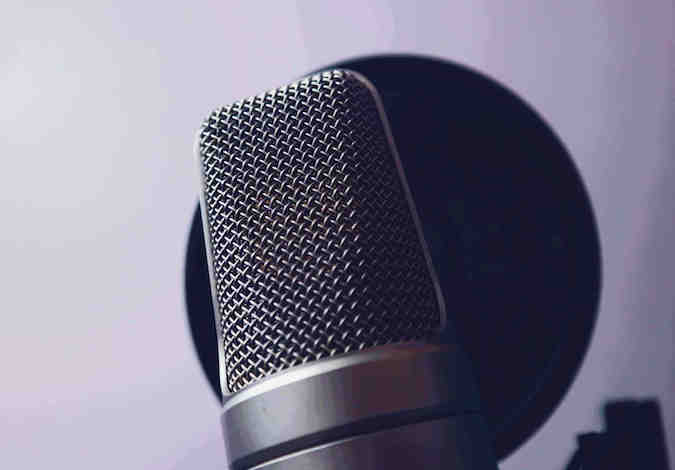
- Dynamic Microphones: These tend to pick up less room noise and work especially well for voice. Classic options like the Shure SM58 are popular for a reason—they’re rugged and focus tightly on your voice.
- Condenser Microphones: More sensitive and detailed, but also more prone to capturing room sounds and household noise.
- Pickup Patterns Matter: Cardioid, supercardioid, and hypercardioid microphones “hear” mostly what’s directly in front of them, blocking much sound from the sides and back. Be sure to aim the microphone toward your mouth, away from noise sources.
- Close-Miking Solutions: Headset and lavalier (clip-on) microphones keep your voice much closer to the mic than any background sound—an excellent choice for podcasts, voiceover, or video calls.
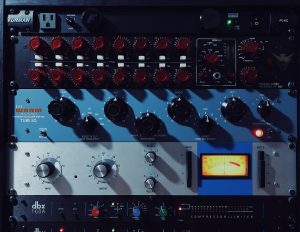
- Audio Interfaces and Filters: A good quality audio interface with clean preamps avoids adding extra hiss. If your gear supports it, activate a high-pass (low-cut) filter to cut out low-frequency rumbles, but remember: filters help polish a recording, not rescue a noisy one.
Microphone Technique and Positioning
Proper mic technique enhances any microphone’s noise rejection:
- Get Close: The closer you are—often just a few inches—the louder your voice will be in relation to room noise.
- Point Strategically: Angle your microphone so that it faces away from obvious noise sources, such as a window, computer, or vent.
- Be Consistent: Maintaining the same position relative to the mic throughout your recording ensures stable, even audio levels and easier editing later.
Consider your microphone and its placement as a system—each element works best when it complements the others.
Active Noise Management: What To Do While Recording
Preparation pays off, but taking a few active steps during your recording session brings everything together.
- Turn Off What You Can: Unplug or power down unused electronics. Even appliances in another room, like a fridge or desktop computer, can introduce audible hum or fan noise.
- Block Drafts and Vents Sensibly: Use towels, blankets, or “draft snakes” along doors and over vent openings to dampen noise. Ensure you’re not cutting off essential airflow or creating fire hazards.
- Monitor as You Go: Wear closed-back headphones to hear what your microphone hears in real time. Keep an eye on input meters in your recording software—your voice should clearly stand out above the background.
Remember: the fewer distractions you capture in your take, the cleaner and easier your editing process will be.
Polishing Your Audio: Fixing Noise in Post-Production
Sometimes, despite your best efforts, a bit of noise slips through. Here’s where software and editing finesse come in, letting you clean up what you couldn’t avoid at the source.
- Noise Reduction Plugins: These isolate and minimize steady hums or hisses, but use them gently—overuse can harm the natural character of your voice.
- Noise Gates: Effective for muting unwanted sounds between phrases. Set them with care—if they’re too aggressive you risk chopping off words or making the recording sound unnatural.
- EQ Techniques: A high-pass filter can remove deep rumbles, while precise notch EQs can cut out persistent, narrow frequency noises. Use equalization as a precision tool, not a cure-all.
Post-production tools are powerful for cleanup and final polish, but they’re not a substitute for careful recording. The best results always come from preventing problems early, not fixing them later.
Taking It Further: Advanced Solutions for Dedicated Home Studios
Once you’ve mastered the basics, you might look to expand your toolkit with more sophisticated upgrades. These are not essential for beginners but can offer more control in challenging acoustic environments or for serious home studio work.
- Multi-Mic Setups: Methods like mid/side (M/S) or figure-8 microphone arrangements allow for creative shaping of the recorded sound field and at times can help reduce room noise—but they do require a deeper understanding of mic theory.
- Portable Booths and Reflection Filters: Lightweight, mobile reflection filters or DIY partial booths help control reflections and can be especially helpful if you need to record in different rooms or on the go.
Explore these enhancements as your needs or ambitions grow—they can make the difference for high-stakes or particularly tricky recording situations.
Bringing Everything Together: The Path to Clean Home Recordings
Noise is an ever-present challenge for anyone recording at home, but thoughtful choices at every stage make all the difference. By identifying and tackling noise sources, optimizing your space, selecting the best tools for your environment, and honing your recording technique, you lay the groundwork for crisp, professional audio.
High-quality recordings don’t demand a perfect space or lavish budget. Rather, they’re the result of small, accumulated steps and continuous learning. Focus on what’s within your control—each improvement, no matter how subtle, brings you closer to that clear, polished sound you (and your listeners) will appreciate, every time you hit “record.”


