The box is open, there’s foam all over the floor, and your first pair of studio monitors is sitting on the desk, pushed back against the wall on either side of the screen, because that’s where they fit. You play a song you know by heart, and something’s off. The bass is thick and woolly, the singer seems to stand a little to one side, and the cymbals sound duller than they do in your headphones.
Most of that isn’t the speakers. It’s where they are. On a bedroom desk, speakers fight the wall behind them, the desk under them and the corners beside them, and how to set up studio monitors to win that fight comes down to inches and angles. Still choosing a pair? Our best studio monitors at every price has a pick for every budget.
The triangle
Start with the shape, because everything else hangs off it. Sit where you’ll mix and picture a triangle with three equal sides: your head is one corner, and the two speakers are the other two.
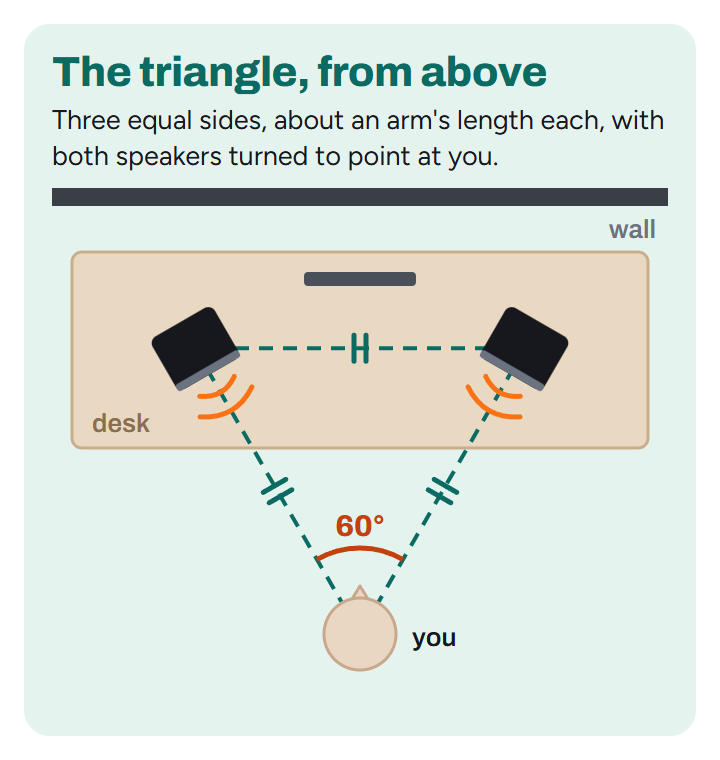
On a desk, that usually puts the speakers about an arm’s length from you and about an arm’s length apart. Push them much closer together and the stereo picture shrinks into the middle. Spread them much wider and you get a hole in the center, right where the vocal should be.
Then turn each speaker in so it points at your head, not straight ahead and not past you. Genelec, who make some of the best-known monitors around, put it as 60 degrees between the speakers, with you at the point of the triangle and each speaker aimed at where you sit.
Keep the whole setup centered on you, and the room around it as even as you can. If one speaker sits next to a bare wall and the other next to an open doorway, a matched pair will sound like two different speakers. Sliding the desk toward the middle of the wall often helps more than you’d expect. Our piece on how rearranging furniture changes a room’s sound explains why.
Last, keep the space between you and the speakers clear. A big screen or a shelf in the way catches the sound before it reaches you.
Tweeters at ear height
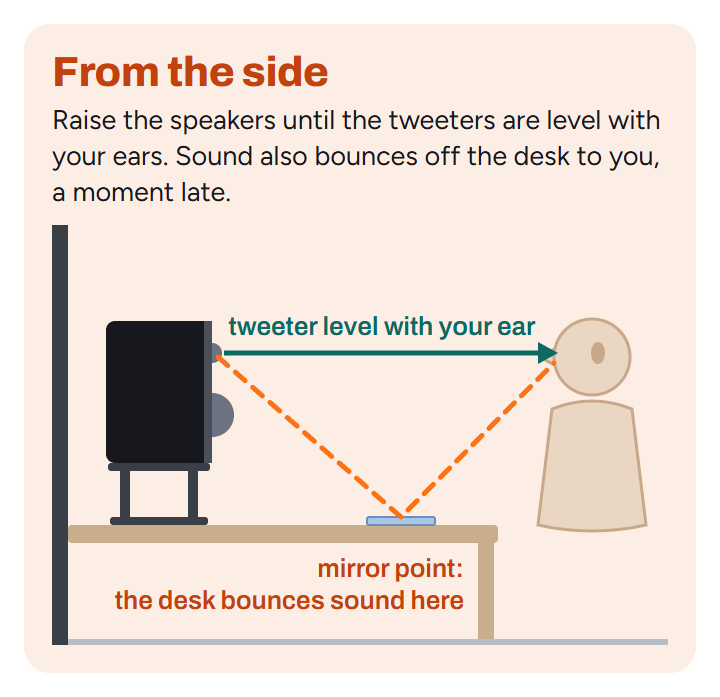
The tweeter, the small driver at the top, carries the detail, and high notes travel in a tighter beam than low ones, so a tweeter aimed at your chest sends some of that detail past you. Dynaudio’s advice is to line up the point just below the tweeter with your ears. Flat on a desk, most speakers fall well short. Measure from the desk to your ears as you sit, then from the bottom of a speaker to its tweeter: the difference is the lift you need.
A stack of books works. It isn’t pretty, and that dictionary is never going back on the shelf, but it gets the tweeters up for the price of nothing. What books don’t do is keep the desk out of it. Sound On Sound’s Hugh Robjohns points out that monitors make a desk vibrate and rattle along with the bass, and that decoupling them helps.
If you can only raise them a little, tilt them up instead, keeping the tilt under 15 degrees as Genelec suggests. And stand them upright: Genelec found that a speaker lying on its side makes the desk’s reflection worse, and its sound changes as you move your head.
That reflection is worth a look whatever your setup. Sound reaches you twice, once straight and once a moment later off the desk, which colors the upper mids. To find the spot, sit in your chair and have someone slide a small mirror flat across the desk: wherever you can see a tweeter in it, the desk is bouncing sound to your ears. Raising or tilting the speakers weakens that bounce, and Genelec’s own fix is a stand that lifts them clear. Which brings us to the two things worth buying.
Isolation pads: Auralex MoPAD
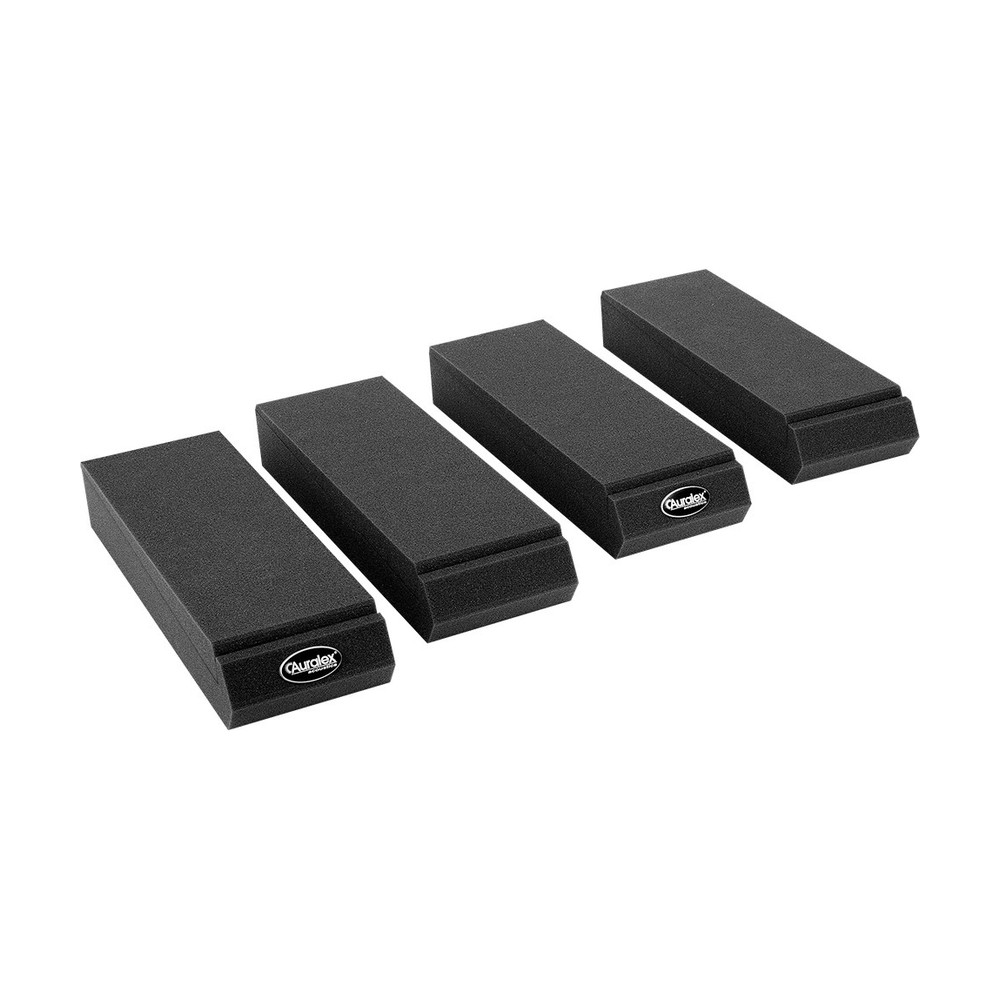
The cheapest real fix is a set of foam pads, and Auralex’s MoPADs are the ones Sound On Sound named as very effective. Each speaker stands on two dense foam blocks, and wedges in the box tilt it up or down by 4 or 8 degrees. The foam keeps the shaking out of the desk, and on a low desk the tilt points the tweeters up at your ears.
The catch: they only lift a speaker about two inches. If your tweeters are well below your ears, you’ll still want a book underneath, or the stands below.
Desk stands: IsoAcoustics ISO-155
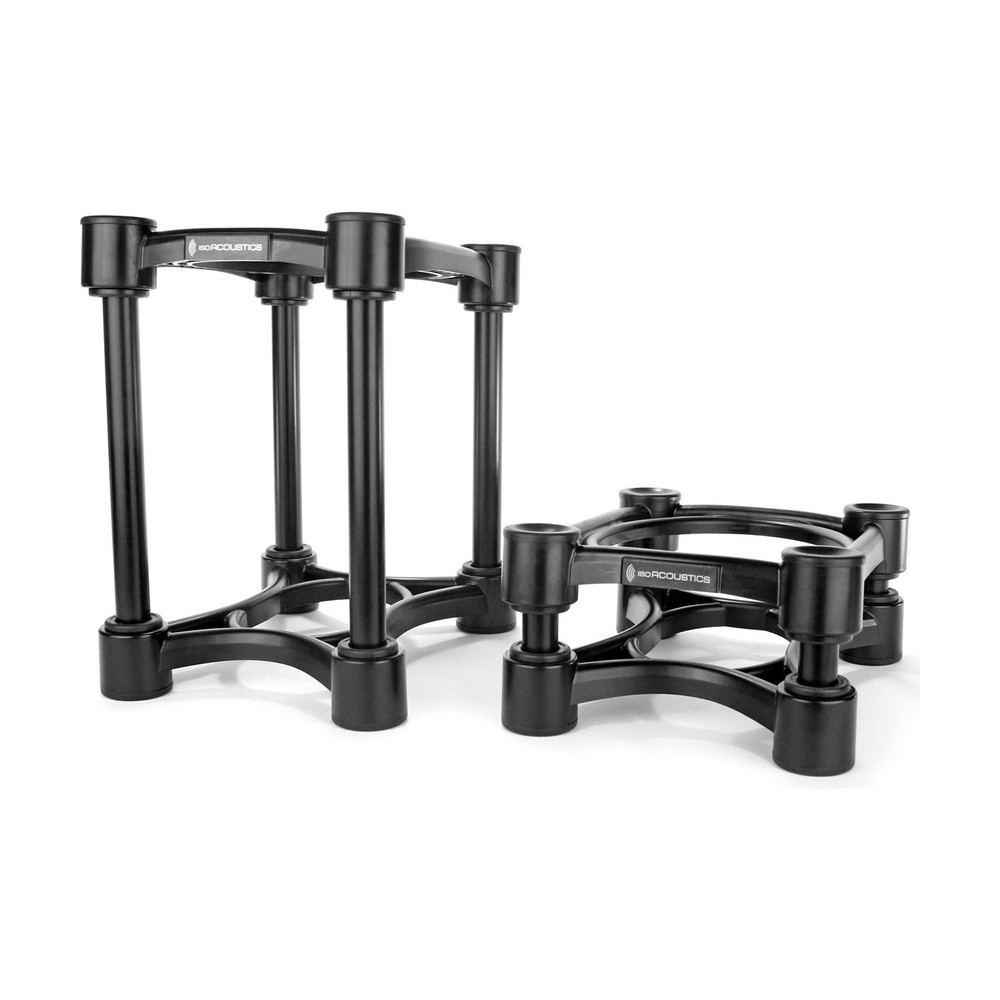
To do it once and properly, get desk stands. IsoAcoustics’ ISO-155 comes as a pair and lifts a speaker from 3 inches to just over 8, with a little tilt, on isolators that let it float so the desk stays out of the sound. Sound On Sound’s Paul White found the earlier version, the ISO-L8R155, did “a great job” of placing speakers and damping vibration, and IsoAcoustics says this one has a better isolator.
The catches: they cost a few times as much as pads, and they suit speakers at least 6 inches wide. For smaller ones, the ISO-130 fits better.
How far from the wall, and why corners boom
Bass doesn’t stay in front of a speaker. It spreads out, hits the wall behind, and comes back to meet the sound still leaving the speaker. Depending on the distance, the two add up or get in each other’s way.
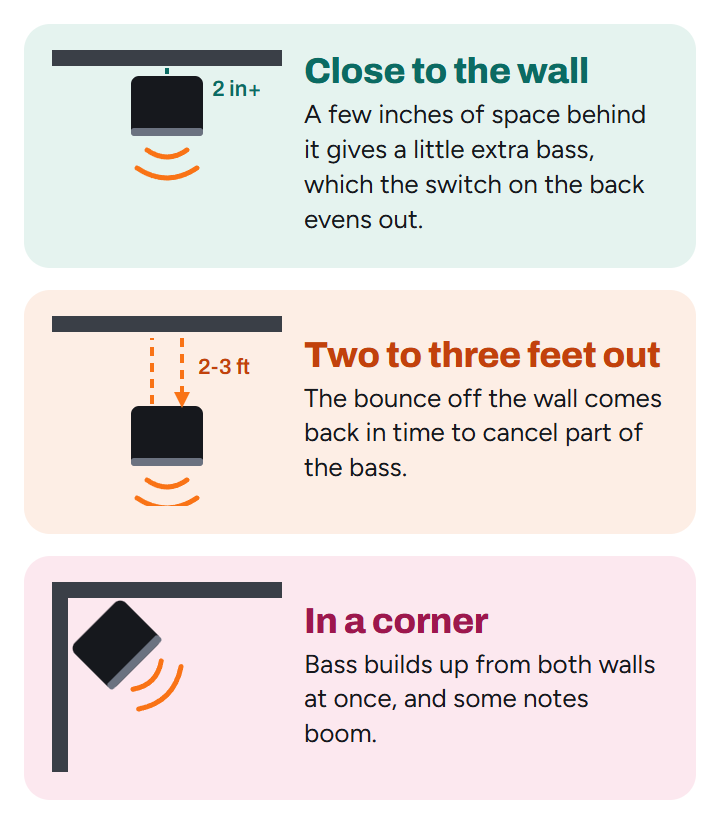
Close to the wall, they add up: a little extra bass, spread evenly, and easy to fix. Leave at least two inches behind the speaker if it has a port on the back, the round hole that lets the bass breathe. Genelec’s guide is to keep the front of the speaker within about two feet of the wall, which on a desk against a wall just means keeping the speakers near the back of the desk.
Pull them out so the front is two or three feet from the wall, and the bounce comes back in time to cancel part of the bass. In Genelec’s example, 34 inches costs a big slice of the low end. That’s worse than a boost. A switch can turn a boost down, but nothing fills a hole, and with the bass thin at your chair you’ll add bass the mix doesn’t need. Unless the desk can go well out into the room, close beats in-between.
Corners are worse still, as Dynaudio warns: the bass builds up from two walls at once, and some notes boom. If your desk lives in a corner, slide it along the wall until neither speaker is tucked in, and keep both the same distance from the walls around them. And if you get to choose, Sound On Sound’s Paul White suggests the short wall of a long room, facing down its length.
The switches on the back
Because most monitors end up on a desk against a wall, many have a switch on the back that takes out some bass. JBL calls it Boundary EQ, and on the 305P MkII (our review) it has two steps, -1.5 and -3, made for a desk or a nearby wall. Yamaha’s HS speakers call it Room Control, with steps of -2 and -4. Other makers have their own names, but it’s the same idea.
Set it after you’ve placed the speakers. Start with it off and play a song you know well. If the bass sounds boomier than you remember, try the first step, then the second, and keep whichever sounds most natural, which is JBL’s own advice. Set both speakers the same. The treble switch next to it, often marked HF trim, can stay in the middle unless the top end really sounds wrong.
Connecting them
Your speakers plug into the line outputs on the back of your audio interface, not the headphone jack and not the inputs on the front. On most interfaces they’re two quarter-inch jacks, and they’re balanced: the cable carries the signal twice, one copy flipped, so hum picked up along the way cancels out.
Keep that by using balanced cables. If your speakers take a quarter-inch jack, you want TRS to TRS cables, whose plugs have two black rings instead of one. If they only take XLR, you want TRS to XLR male. The JBL 305P MkII and Yamaha’s HS speakers take both. A guitar cable will work, but it isn’t balanced, so it lets in more hum.
Switch on in order: computer and interface first, speakers last. Switching off, the speakers go first. An interface can send a thump through its outputs as it powers up or down, and if the speakers are on, they play it.
Then set the volume knobs on both speakers to the same spot, high enough that your usual level comes with the interface’s big knob past halfway, and leave them there. Do all your turning up and down on the interface, so the two can’t drift apart.
How loud to mix
Quieter than you think. The louder music plays, the more bass and treble our ears hear in it, so a mix made loud can sound thin and dull at a normal level. That’s why Sound On Sound’s Hugh Robjohns recommends picking one steady level and starting every session there. Loud also tires your ears faster, which is part of why music sounds different the next day.
A good everyday level is one you could talk over without raising your voice. Turn it up now and then to check the low end, and right down to check the balance: if the vocal and the drums still come through when it’s quiet, the mix is in good shape.
Then play a song you know really well and listen from your chair. Does the singer sit right in the middle? Does the bass sound like it does in your headphones and in the car, or does one note boom? If something’s off, go back through the steps before you blame the speakers. And keep your headphones: a mix checked on both catches mistakes either one alone would miss, as our piece on mixing with headphones vs speakers explains.
When the room is the problem
Almost everything above costs nothing but a few minutes and maybe a stack of books, so do it before you buy anything. Some rooms still sound wrong afterwards: a bass note that booms wherever the desk goes, a smeared stereo picture, a ring in the air when you clap. That’s the room itself, and the fix is acoustic treatment.
Spend on that before anything else, because better speakers in a bad room still sound like a bad room. Start with a few thick panels at the side-wall mirror points and on the wall behind the desk. Our guide Do You Need Acoustic Treatment? covers where they go, what works, and what’s a waste of money.
Happy producing.